English
 Español
 中文简体
中文简体
Content
- 1 Direct Answer: How to Select a Professional Line Array Amplifier
- 2 Power and Wattage: The Foundation of Array Performance
- 3 DSP Integration: The Brain of Your Line Array System
- 4 Impedance Matching: The Hidden Efficiency Factor
- 5 Class D Topology: Efficiency Meets Power Density
- 6 Rack Mount Design: Space Efficiency on Tour
- 7 OEM and ODM: Customization for Your Brand
- 8 DSP Amplifier Setup: A Step‑by‑Step Workflow
- 9 Bridging: When and How to Use It
- 10 Frequently Asked Questions
Direct Answer: How to Select a Professional Line Array Amplifier
Selecting a Pro Line Array Amplifier comes down to four non‑negotiable factors: continuous power headroom (at least 1.5× the program power of your speakers), impedance compatibility (4Ω or 8Ω with stable 2Ω operation), on‑board DSP with FIR filters and crossover management, and Class D topology for efficiency above 90% in a rack‑mount form factor. Start by calculating the total RMS load of your array, then add 4–6 dB of headroom. Choose a DSP line array amplifier that offers at least 4 channels, network control, and preset storage for different venues. For OEM or custom projects, partner with a manufacturer that provides full tuning support and impedance flexibility.
Power and Wattage: The Foundation of Array Performance
Power is the single most critical specification. A line array amplifier wattage rating must be evaluated in RMS continuous power, not peak. Typical line array modules have program power ratings from 500 W to 2,500 W per driver section[reference:0][reference:1]. For example, a dual‑8″ active line array module often uses a 800 W RMS LF amplifier and a 400 W RMS HF amplifier[reference:2]. For passive systems, a 4‑channel rack mount line array amplifier can deliver 4 × 1,500 W at 8Ω or 4 × 2,500 W at 4Ω[reference:3].
Typical Power Distribution in a Bi‑Amp Line Array Module
Data based on typical self‑powered line array modules (e.g., LAIA‑28, 2025)[reference:4]
For a 8‑cabinet array, total continuous power often exceeds 6,000 W. A high power line array amplifier with 4 × 2,500 W at 4Ω can comfortably drive such a system while maintaining 6 dB of headroom for transient peaks[reference:5]. Always select an amplifier whose continuous output at the intended load impedance is at least 1.5× the program power of the loudspeakers.
| Array Size (cabinets) | Total Program Power (RMS) | Recommended Amp Power (8Ω) | Headroom (dB) |
|---|---|---|---|
| 4 cabinets | 2,000 – 3,200 W | 3,000 – 4,800 W | +4 to +6 |
| 6 cabinets | 3,000 – 4,800 W | 4,500 – 7,200 W | +4 to +6 |
| 8 cabinets | 4,000 – 6,400 W | 6,000 – 9,600 W | +4 to +6 |
| 12 cabinets | 6,000 – 9,600 W | 9,000 – 14,400 W | +4 to +6 |
DSP Integration: The Brain of Your Line Array System
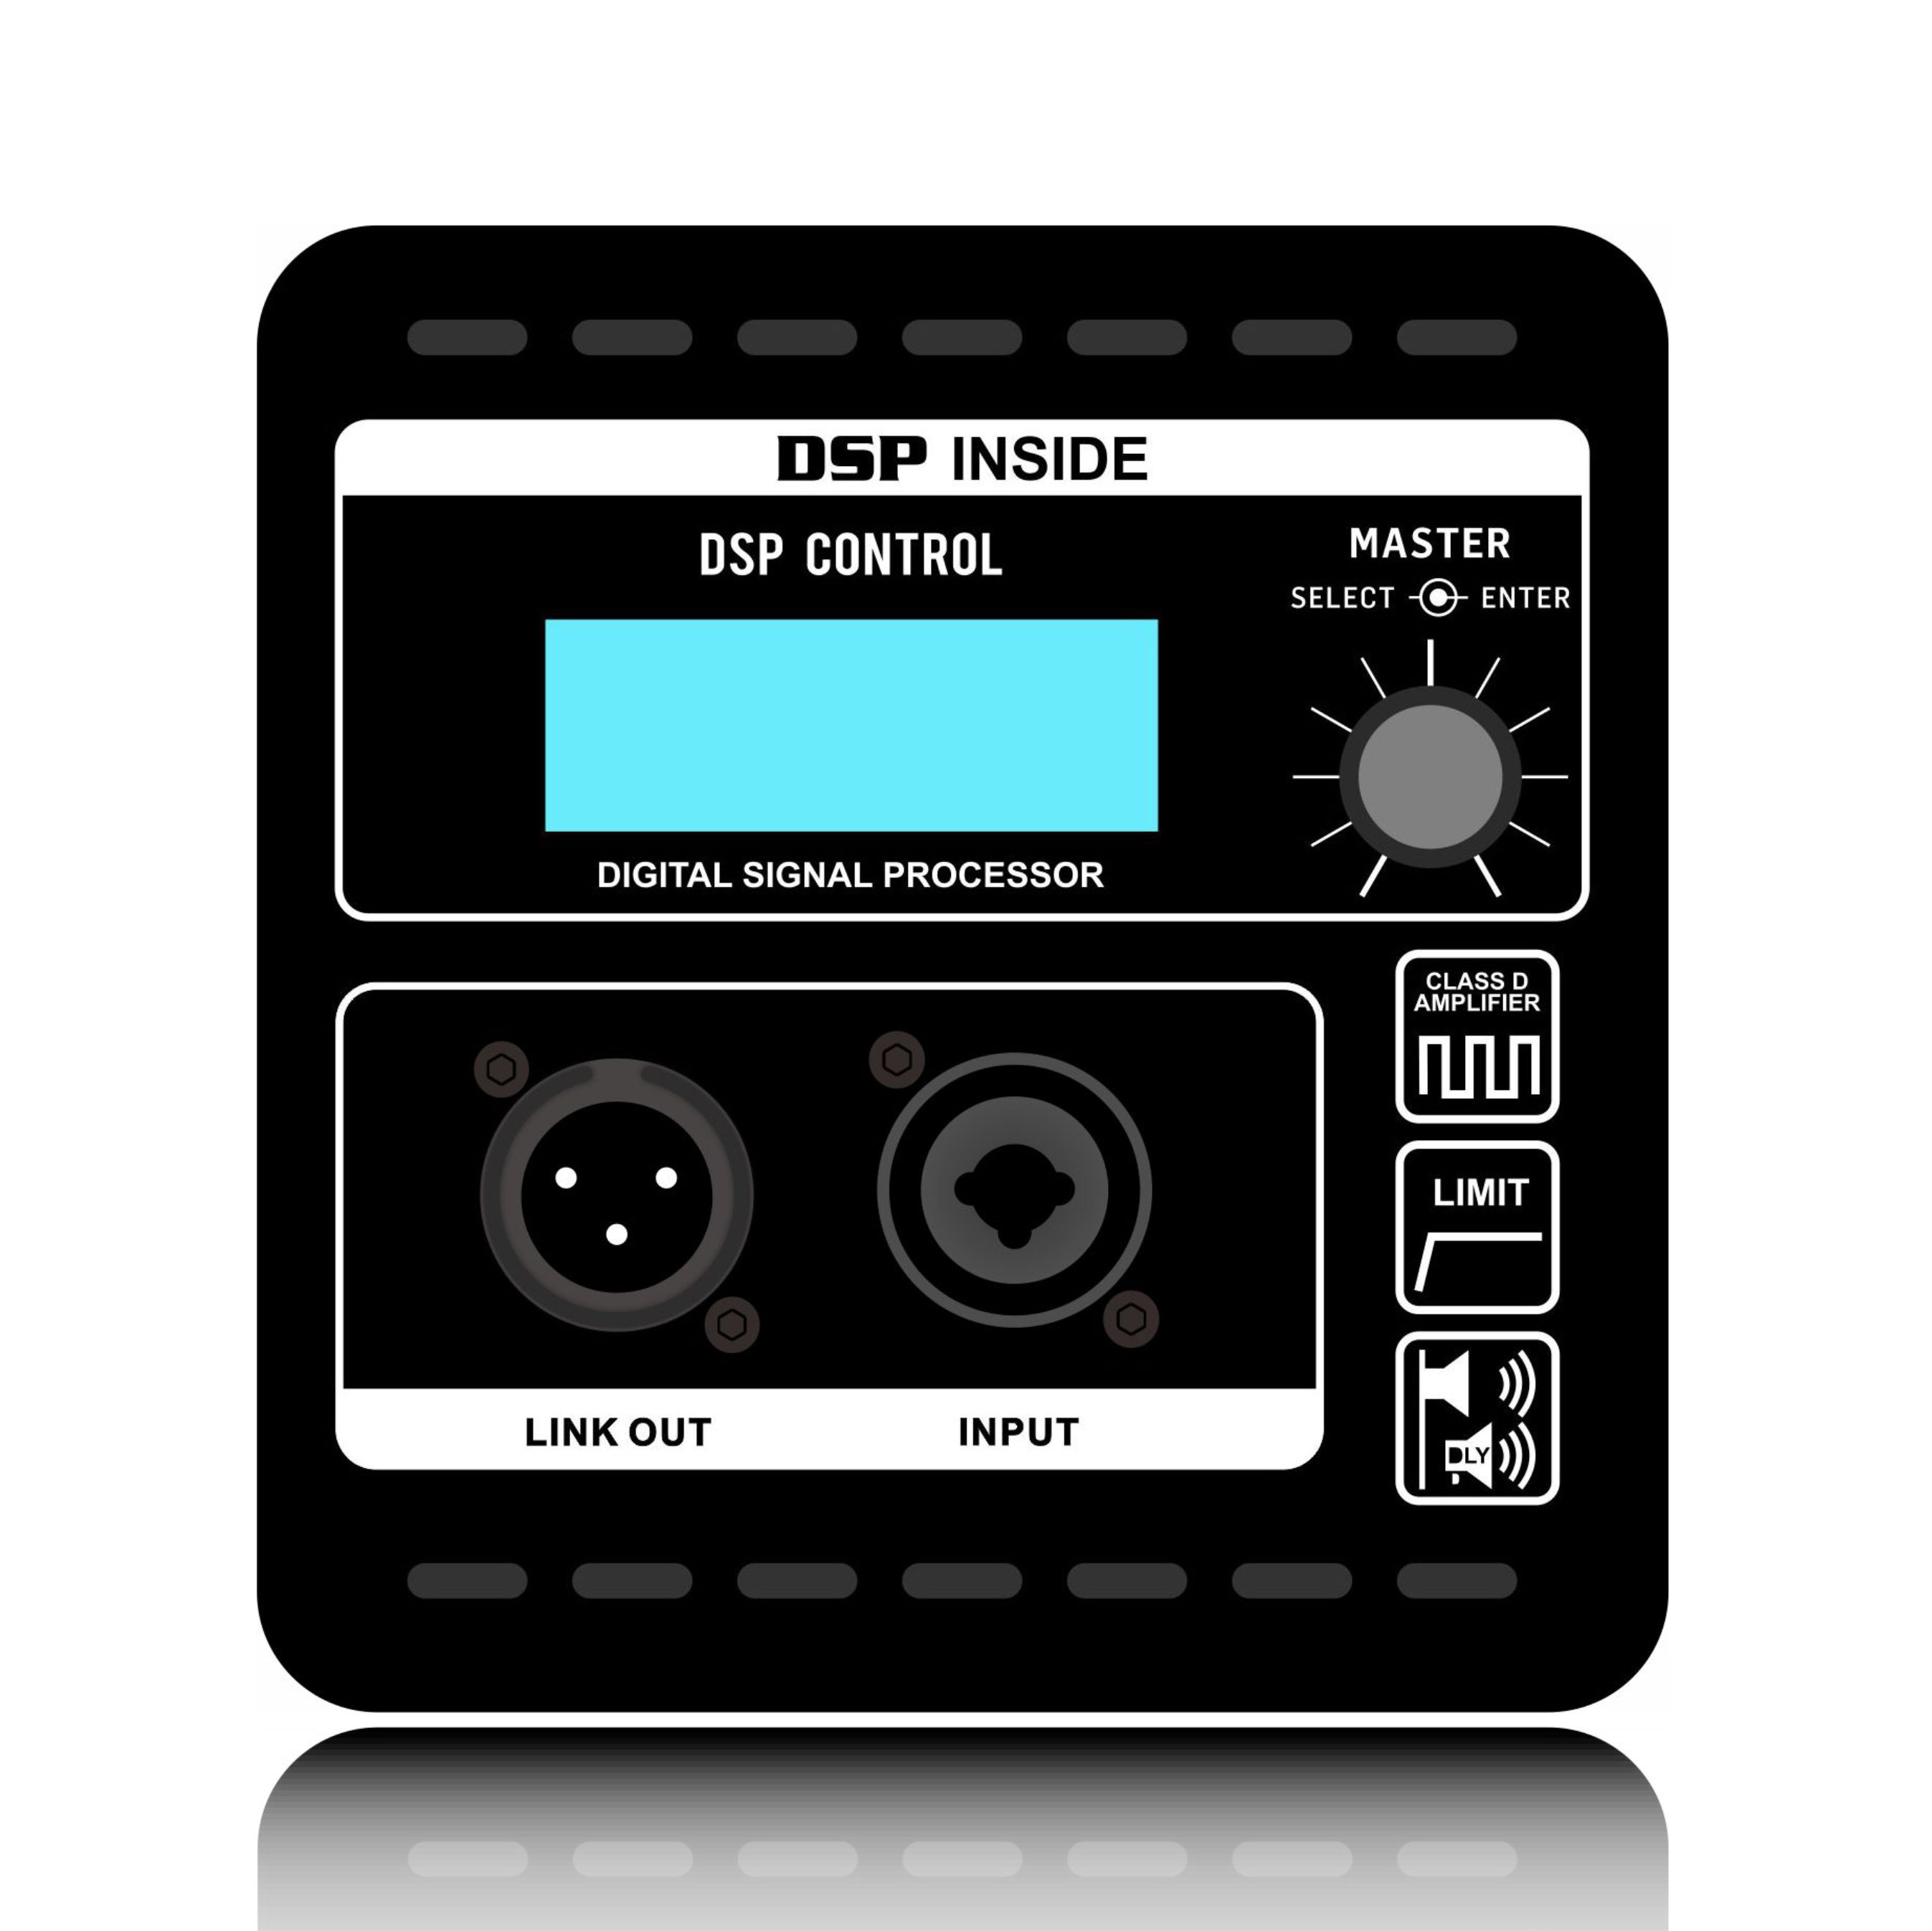
A DSP line array amplifier is no longer optional — it is mandatory for modern sound reinforcement. On‑board DSP handles crossover filtering, time alignment, parametric EQ, limiting, and loudspeaker protection[reference:6]. Modern units operate at 96 kHz / 64‑bit double precision with FIR linear phase filtering[reference:7].
DSP Signal Chain in a Pro Line Array Amplifier
Typical signal flow: analog/digital input → ADC → DSP processing → DAC → Class D power stage[reference:8]
When evaluating a professional line array amplifier, look for at least 8 parametric EQ filters per channel, crossover slopes of 24 dB/octave or steeper, and integrated limiting with true‑peak detection. DSP amplifier setup should be achievable via a user‑friendly interface — either a front‑panel screen (e.g., 2.8″ IPS with joystick)[reference:9] or PC/Mac software with remote network control.
Key DSP features to prioritize: FIR filters for linear phase response, delay per channel (up to 500 ms), signal generators for testing, and at least 50 user‑preset slots for different venues and array configurations.
Impedance Matching: The Hidden Efficiency Factor
Line array amplifier impedance compatibility directly affects power transfer and thermal stability. Most professional line array speakers are rated at 8Ω or 4Ω nominal impedance[reference:10]. When multiple cabinets are wired in parallel, total impedance drops. For example, four 8Ω cabinets in parallel present a 2Ω load — which requires an amplifier rated for stable 2Ω operation[reference:11].
Total Impedance for Parallel‑Wired 8Ω Cabinets
Parallel wiring of identical 8Ω cabinets. Most pro amplifiers support 2Ω stable operation[reference:12].
A rack mount line array amplifier with selectable impedance matching (e.g., 2Ω, 4Ω, 8Ω) provides the flexibility needed for touring systems where array size changes daily. For bridged operation, impedance effectively doubles — a bridged 4‑channel amp delivering 2 × 5,000 W at 8Ω bridged is common[reference:13]. Always check the amplifier's minimum impedance specification before committing to a wiring scheme.
Class D Topology: Efficiency Meets Power Density
Modern class D line array amplifier designs achieve efficiency ratings of 90% to 96%[reference:14]. This means a 4,000 W output amplifier draws only about 4,200–4,500 W from the mains, generating far less heat than Class AB or H designs. The high efficiency enables compact 2U or 3U rack‑mount chassis that can deliver 20,000 W of total output[reference:15].
Amplifier Class Efficiency Comparison (Typical)
Class D amplifiers dominate professional touring due to their high efficiency and low heat generation[reference:16].
For OEM line array amplifier projects, Class D is the preferred topology because it allows lighter power supplies, smaller heat sinks, and reduced shipping weight — all critical for rental and touring companies. Additionally, the lower heat dissipation extends the lifespan of internal components and reduces air‑conditioning load in rack rooms.
Rack Mount Design: Space Efficiency on Tour
A rack mount line array amplifier saves valuable space in flight cases. Most professional units are 2U or 3U high, with depths under 450 mm[reference:17]. An 8‑channel high power line array amplifier in a 2U chassis can deliver 8 × 800 W at 4Ω[reference:18], making it ideal for large arrays where rack space is at a premium.
When selecting a Pro Line Array Amplifier for touring, consider the weight — modern Class D units weigh as little as 16 kg for a 4‑channel 1,500 W model[reference:19]. This is a dramatic reduction compared to older transformer‑based amplifiers. For fixed installations, rack‑mount with rear support brackets and front handles is standard.
Rack mount checklist: 19″ EIA standard, front‑panel indicators for signal/clip/protect, rear‑panel XLR inputs and Speakon outputs, and detachable power cords with locking connectors.
OEM and ODM: Customization for Your Brand
For audio brands looking to offer a Pro Line Array Amplifier under their own name, partnering with an experienced OEM line array amplifier manufacturer is the fastest path to market. Over 80% of the world's specialized line array amplifier production is concentrated in Guangdong, China[reference:20]. Manufacturers with over 5,000 m² of production space and five or more years of experience typically offer greater stability for complex OEM projects[reference:21].
An ODM audio amplifier partner can provide fully customized DSP presets, front‑panel branding, custom impedance configurations, and even tailored protection curves for specific loudspeaker drivers. This level of customization ensures that your professional line array amplifier delivers optimal performance with your own line array enclosures.
OEM/ODM Customization Options for Line Array Amplifiers
OEM/ODM partners offer deep customization across five key dimensions[reference:22].
DSP Amplifier Setup: A Step‑by‑Step Workflow
Proper DSP amplifier setup ensures that your line array delivers consistent coverage and intelligibility. The workflow typically follows these stages[reference:23]:
- System verification — confirm all cables, connectors, and power are correct.
- Speaker placement — position each module according to the venue's geometry.
- Aim and alignment — set splay angles using manufacturer‑provided prediction software.
- Equalization — apply room EQ based on measurement microphone data (e.g., Smaart, Room EQ Wizard)[reference:24].
- Crossover alignment — set crossover points between LF and HF sections, and between mains and subwoofers.
- Limiter configuration — set true‑peak and RMS limiters to protect drivers.
A DSP line array amplifier with at least 8 parametric EQ filters per channel and delay up to 500 ms per channel simplifies this process. Many manufacturers now offer software that allows remote control and real‑time monitoring of all amplifier parameters via Ethernet.
Bridging: When and How to Use It
Line array amplifier bridging combines two channels into a single, more powerful channel. This is useful when you need to drive a high‑power subwoofer or a large passive line array section with a single amplifier. A bridged 4‑channel amplifier can deliver 2 × 5,000 W at 8Ω[reference:25].
However, bridging doubles the voltage swing and halves the minimum impedance. Always check the amplifier's bridged minimum impedance — many support 4Ω or 8Ω bridged, but not 2Ω[reference:26]. For most line array applications, bridging is used for the subwoofer channels, while the mid‑high sections are run in stereo mode for better channel separation and control.
Bridge mode best practice: Use identical speakers on both sides of the bridged pair, set the amplifier to bridge mode via rear‑panel switch, and connect the speaker to the designated bridge output terminals (usually the positive terminals of both channels).
Frequently Asked Questions
Q1: What amplifier is best for a line array?
A Pro Line Array Amplifier with Class D topology, on‑board DSP, and at least 4 channels of 500 W–2,500 W per channel at 4Ω is the industry standard.
Q2: Can any amplifier drive line array speakers?
No. Line arrays require high continuous power, stable low‑impedance operation (2Ω–8Ω), and DSP for crossover and time alignment. A general‑purpose amplifier lacks these features.
Q3: How many speakers can one amplifier power?
Depends on impedance. A 4‑channel amp at 4Ω can power 4 cabinets (one per channel) or up to 8 cabinets if wired in parallel pairs (2Ω per channel), provided the amp supports 2Ω.
Q4: What is DSP in a power amplifier?
Digital Signal Processing — it handles crossover, EQ, delay, limiting, and loudspeaker protection. Essential for modern DSP line array amplifier systems.
Q5: How much power does a line array need?
A typical 8‑cabinet array needs 4,000 W–6,400 W continuous RMS. Always add 4–6 dB of headroom, so select an amplifier with 6,000 W–9,600 W at the intended load.
Q6: Why are Class D amplifiers used in concerts?
Class D offers 90–96% efficiency, meaning less heat, lighter weight, and more power in a 2U rack space — ideal for touring and festival high power line array amplifier deployments.
Q7: What impedance should I use?
Most pro line array speakers are 8Ω or 4Ω. Choose an amplifier that supports your target impedance and offers stable operation down to 2Ω for parallel‑wired arrays.
Q8: Can I bridge a line array amplifier?
Yes. Bridging combines two channels for higher power. Use it for subwoofers or large passive sections. Ensure the bridged load impedance is within the amplifier's specification.